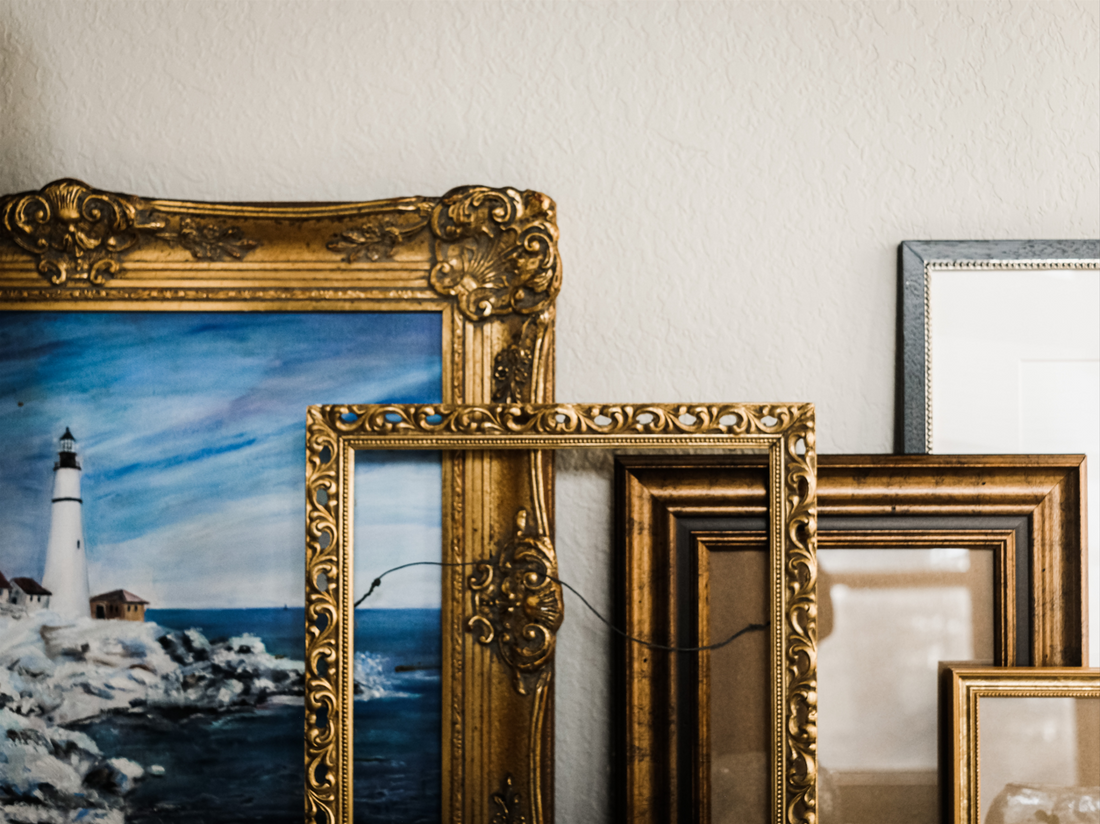
Framing art not only protects and enhances the artwork but also adds a professional touch to its presentation.
To frame art: 1. Find a pre-made frame with glass. 2. Disassemble it and clean the glass. 3. Cut acid-free mat paper to size. 4. Secure art on the mat with tape. 5. Reassemble frame with glass and mat. 6. Optional: Add wire and hangers. 7. Clean the glass. Enjoy your framed art!
While custom framing can be expensive, there are budget-friendly alternatives that allow you to frame your art without breaking the bank. In this article, we will explore cost-effective methods to frame your art and provide step-by-step instructions to guide you through the process.
Explore our curated selection of contemporary artists from around the globe.

Section 1: Understanding the Importance of Framing Proper framing offers several benefits for your artwork. It protects the art from dust, water, scratches, and UV rays, ensuring its longevity. Framing also enhances the visual appeal of the artwork, making it look more professional and accentuating its colors and details. Additionally, framed art is easier to hang and display. The cost-saving aspect of DIY framing allows you to create beautiful frames at a fraction of the price of custom framing.

Section 2: Materials and Tools Needed To frame your art on a budget, you will need the following materials and tools:
- Pre-made frames with glass: Look for well-made frames at thrift stores or art supply stores. These frames should include glass for protection.
- Acid-free mat paper: Choose acid-free mat paper to prevent deterioration of your artwork.
- Mat cutter (optional): A mat cutter enables you to cut the mat paper to the exact size needed.
- Acid-free artist's tape: This tape is used to secure the art in place on the mat.
- Pliers, X-acto knife, screwdriver, and hammer: These tools are essential for disassembling and assembling frames.
- Paint or stain (optional): You can personalize the frame by painting or staining it to match your artwork or home decor.
- Picture wire and D-ring hangers (optional): These can be added to the frame for easy hanging.
- Kraft paper: Use kraft paper to cover the back of the frame for a polished finish.

Section 3: Step-by-Step Framing Process Follow these step-by-step instructions to frame your art on a budget:
-
Finding a suitable frame for your art:
- Look for pre-made frames at thrift stores or art supply stores that fit your artwork's dimensions.
- Ensure the frame includes glass for protection.
-
Disassembling the frame:
- Flip the frame over and inspect how it's assembled.
- Remove the backing, foam core board, or any existing art by using pliers to gently pull out staples, nails, or other fasteners.
-
Painting or staining the frame (optional):
- If desired, paint or stain the frame to match your artwork or home decor.
- Apply primer first if necessary, then use a brush or spray paint to achieve the desired finish.
-
Cleaning the glass thoroughly:
- Remove any stickers, dust, or debris from the glass.
- Use dish soap and water to clean the glass, followed by a clean cloth or crumpled newspaper to remove lint.
-
Matting the art:
- Cut the acid-free mat paper to the same size as the frame's glass using a mat cutter or a straight-edge and X-acto knife.
- Place the art on top of the mat paper and center it.
- Use acid-free artist's tape to secure the top edge of the art to the mat paper.
-
Reassembling the frame:
- Place the cleaned glass back into the frame, ensuring there are no fingerprints on it.
- Carefully lay the matted art on top of the glass.
- Reinsert any foam or wood that was removed during disassembly.
- Use pushpins or small nails to hold everything in place, spacing them at least every six inches.
-
Optional: Covering the back with kraft paper:
- If desired, cut a piece of kraft paper to fit the back of the frame.
- Apply a thin line of glue along the frame's edges, then press the kraft paper onto the glue to cover the back.
-
Adding picture wire and D-ring hangers (if necessary):
- If your frame doesn't have picture wire, screw in two D-ring hangers on either side of the frame, equal distance from the top.
- Twist picture wire through both D-rings, ensuring it's taut and secure.
-
Cleaning the front of the framed art:
- Use a clean cloth or microfiber cloth to remove any fingerprints or smudges from the glass.

Section 4: Additional Tips and Expert Advice
- Choose acid-free materials: Acid-free mat paper and artist's tape help preserve your artwork over time.
- Explore different matting options and colors: Consider matting styles and colors that complement your artwork and enhance its visual impact.
- Hanging tips from professional framers: Trust your instincts when hanging art, measure accurately, and embrace irregularity to create visually appealing displays.

Section 5: Exploring Frame Styles and Alternatives
- White or black frames: These neutral frames allow the artwork to take center stage and create a modern or minimalist look.
- Wood frames: Natural wood frames add warmth and can complement various art styles.
- Shadow boxes: Ideal for three-dimensional art or objects, shadow boxes create depth and visual interest.
- Floater frames: These frames give the illusion that the artwork is floating within the frame, showcasing the edges of the art.

Naturalist Gallery offers artist representation internationally. Apply your art.
Framing your art on a budget is an accessible and rewarding process that allows you to showcase your creativity while protecting your artwork. By following the step-by-step instructions and considering expert advice, you can achieve professional-looking frames without breaking the bank. Enjoy the process of framing and displaying your art with pride.
You may also find the following articles helpful:
How to Become a Successful Artist
How to Get Your Artwork Application Ready

